Dre Erwin Photography™


How to Capture the Northern Lights
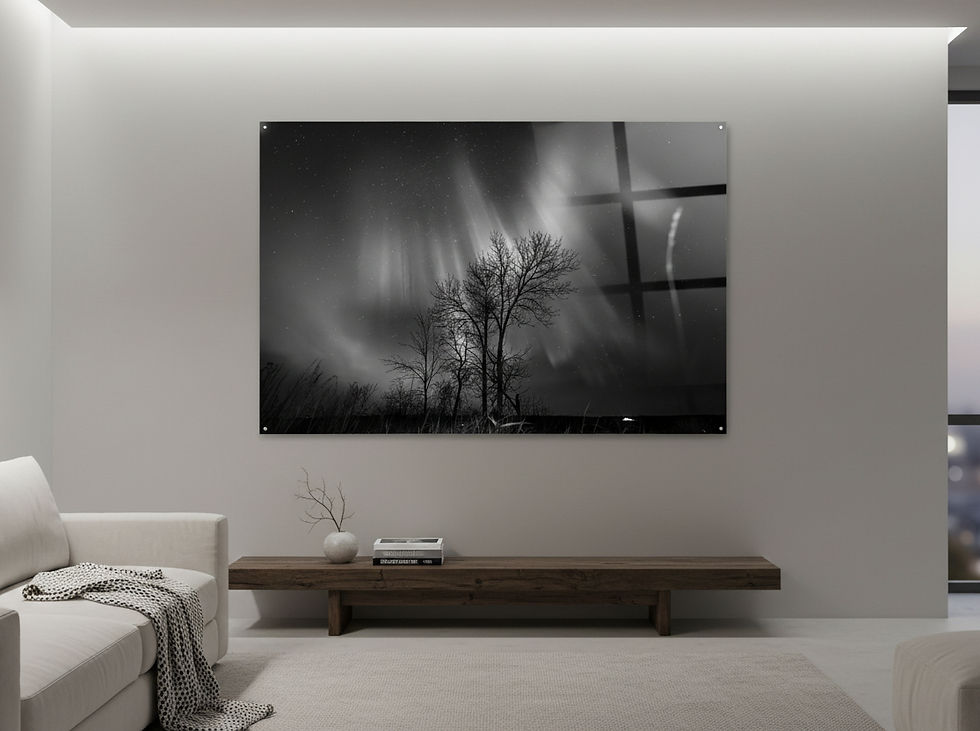
Capturing the Northern Lights is a breathtaking experience that is truly unforgettable. With the right equipment and technique, you can take stunning photos of this natural phenomenon with both a digital camera and a cell phone. In this blog post, we'll walk you through the process of capturing the Northern Lights, including the camera gear required.
Camera Gear Required Before we dive into the steps, let's first take a look at the camera gear required for capturing the Northern Lights.
Camera:
Lens:
Tripod:
Remote shutter release:
You can use a digital camera or a cell phone to capture the Northern Lights. For best results, we recommend using a digital camera that allows you to manually adjust settings such as aperture, shutter speed, and ISO.
A wide-angle lens is essential for capturing the full scope of the Northern Lights. We recommend a lens with a focal length of 10-20mm.
To capture clear, sharp images of the Northern Lights, you'll need to keep your camera steady. A sturdy tripod will help you keep your camera stable.
Using a remote shutter release will help you avoid camera shake when taking photos, resulting in sharper images.


Now that you have your camera gear ready, let's dive into the steps for capturing the Northern Lights.
Step 1: Find a Dark Location
The first step in capturing the Northern Lights is to find a dark location away from city lights. Look for a spot with a clear view of the sky and minimal light pollution.
Step 2: Set Up Your Camera
Once you've found a suitable location, set up your camera on your tripod. Attach your wide-angle lens and adjust your camera's settings. Here are some recommended settings:
Aperture: f/2.8 to f/4
Shutter speed: 10 to 30 seconds
ISO: 800 to 1600
Experiment with different settings to see what works best for the lighting conditions.
Step 3: Focus
Manually focus your lens to infinity. If your lens has autofocus, switch it to manual focus to avoid it hunting for focus in low light conditions.
Step 4: Take the Shot
Use a remote shutter release to take the shot. Make sure you're standing still and not touching the camera during the exposure to avoid camera shake.
Step 5: Review and Adjust
Review your photo and adjust your camera's settings as needed. If the image is too dark, increase your ISO or shutter speed. If it's too bright, decrease your ISO or shutter speed.
Check our our videos to learn more!

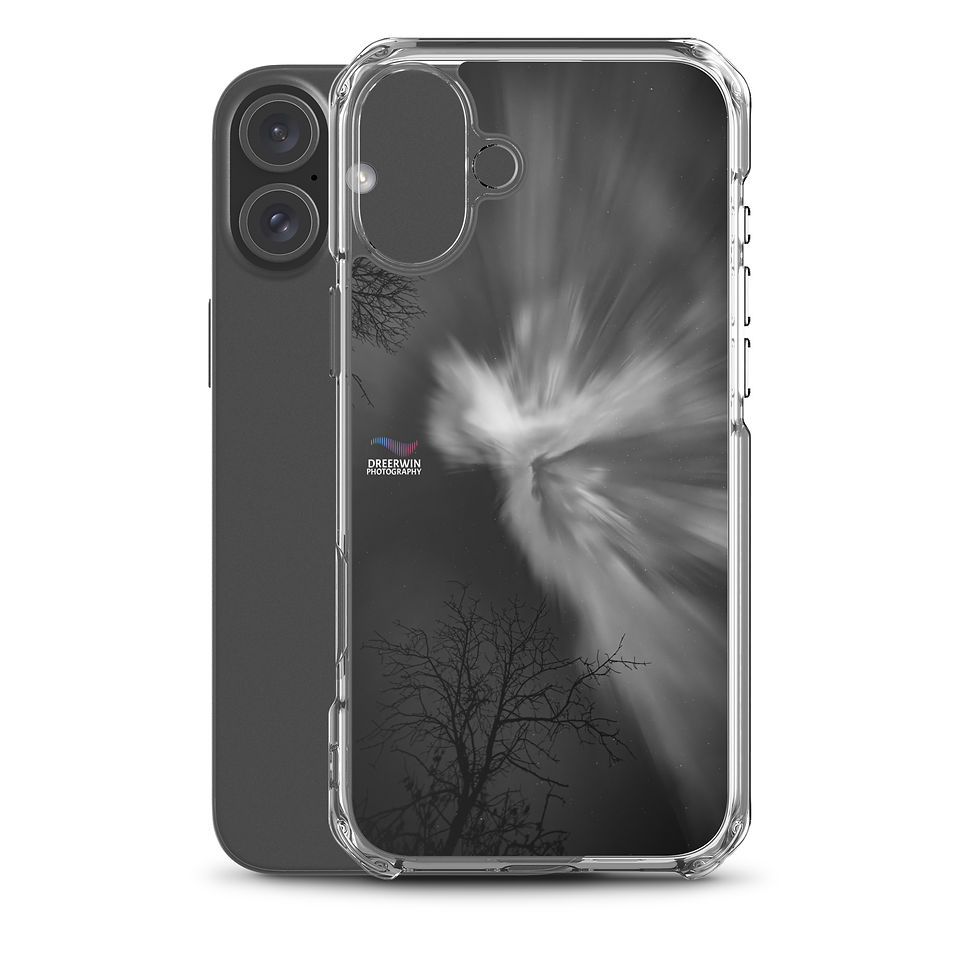
Capturing the Northern Lights with a Cell Phone
If you don't have a digital camera, you can still capture the Northern Lights with a cell phone. While the process is similar to using a digital camera, there are some additional considerations:
Use the Night mode feature if available
Keep the lens clean
Avoid using digital zoom
Use a tripod or stabilizer if available.
Check out our blog for more info!
Conclusion
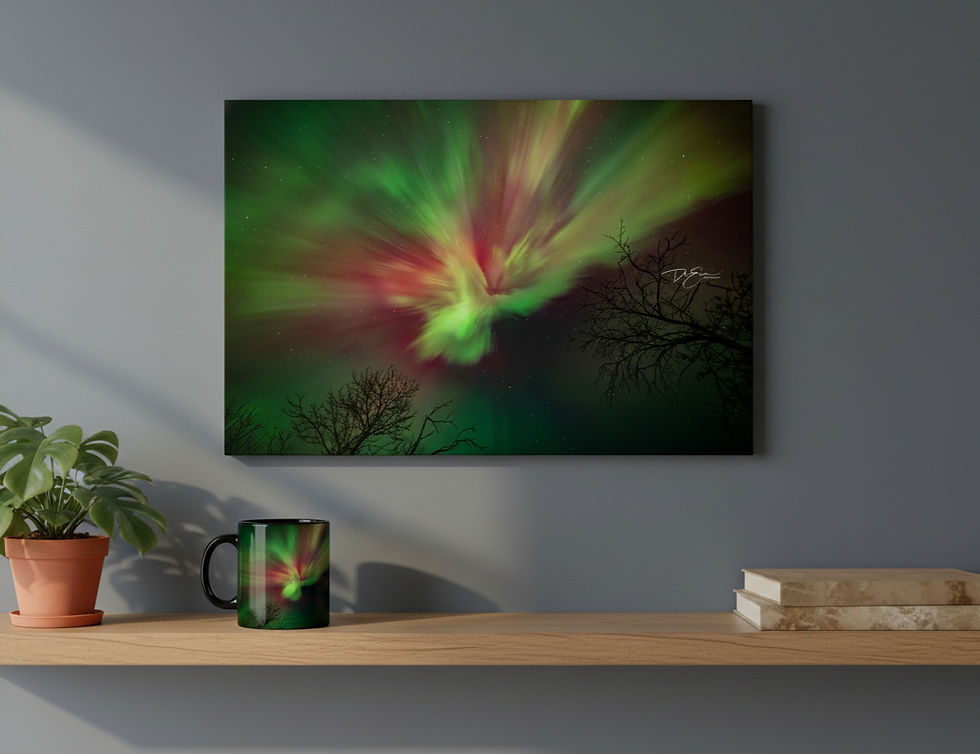
Capturing the Northern Lights is an incredible experience, and with the right camera gear and technique, you can take stunning photos that will last a lifetime. Remember to experiment with your camera settings, and don't be afraid to try different angles and compositions. With practice, you'll soon be capturing breathtaking images of this natural wonder.

Learn more about the Aurora Borealis