

Free Camera Settings Cheat Sheet for Beginners

I put this free camera settings cheat sheet together to give you a place to start when you pick up your camera. It covers portraits, landscapes, action, street photography, macro, golden hour, indoor photos, fireworks and the northern lights.
Whether you are learning at home, heading out in Saskatchewan or practising with a photography club, keep the guide handy and make a few test photos. These are starting points. The light, your lens and how quickly your subject moves will determine what works.
Save the free camera settings guide

Open the full-size image to save a copy on your phone or computer. The settings are also written out below, so you can read the guide without zooming into the image.
Camera settings at a glance
Scene | Aperture | Shutter speed | ISO |
|---|---|---|---|
Portrait | f/2.8 | 1/250 s | 100–400 |
Landscape | f/8–11 | 1/125 s | 100 |
Action | f/4 | 1/1000 s | Auto ISO |
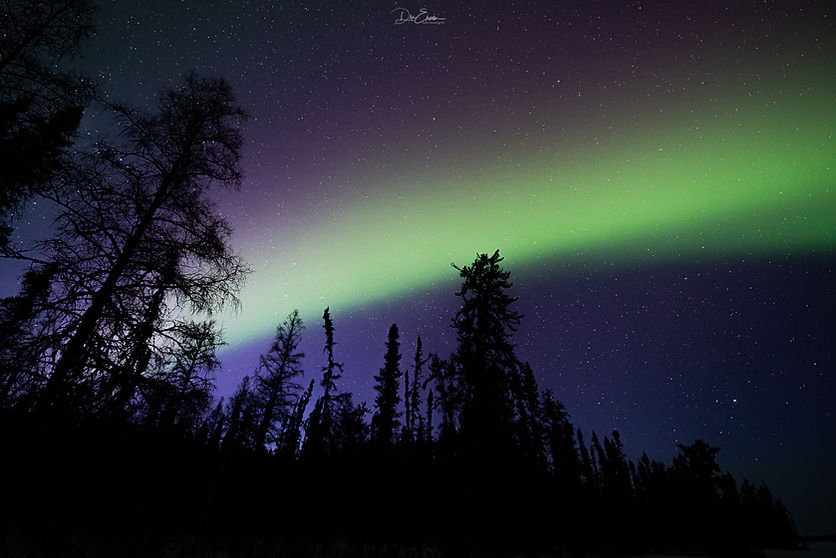
Northern lights | f/1.8–2.8 | 1–5 s | 1600–3200 |
Street / day | f/5.6–8 | 1/250 s | Auto ISO |
Street / night | f/1.8–2.8 | 1/125 s | 1600–6400 |
Macro | f/8–11 | 1/200 s | 200–800 |
Golden hour | f/2.8 | 1/250 s | 100–400 |
Indoor | f/1.8–2.8 | 1/125 s | 800–3200 |
Fireworks | f/8–11 | 2–6 s | 100 |
Shutter times such as 1/250 s mean a fraction of a second; 1–5 s means one to five full seconds. Auto ISO lets the camera adjust ISO as the light changes. Use a tripod for northern lights and fireworks. The landscape setting may also need a tripod or a faster shutter when you use a longer lens.
What aperture, shutter speed and ISO mean
Aperture: light and depth of field
Aperture is the opening in your lens. A smaller f-number, such as f/1.8 or f/2.8, lets in more light and can help soften the background behind a person. A higher f-number, such as f/8 or f/11, increases depth of field, helping more of a landscape or close-up subject look sharp. Your lens may not offer every aperture in the guide.
Shutter speed: movement and camera shake
Shutter speed controls how long the camera records light. A fast shutter, such as 1/1000 s, is a useful starting point for action. A longer exposure gathers more light but also records more movement. If a person is moving, increase the shutter speed as needed; a tripod steadies the camera but cannot stop your subject from moving.
ISO: brightness and image quality
Increasing ISO can help produce a brighter image when you need to keep a fast shutter or cannot open the aperture any further. Higher ISO often brings more visible noise. Choose the ISO that gives you a usable exposure and a sharp subject. A sharp photograph with some noise is often more useful than a blurred one.
How to adjust these settings for your photo
For portraits and indoor photos, focus on the eye closest to the camera. If more than one person needs to be sharp, try f/4 or f/5.6 and check that everyone is in focus. Window light is a useful place to practise.
For sports, children running or other action, begin around 1/1000 s and use continuous autofocus if your camera supports it. Faster movement may need an even faster shutter. Raise ISO when necessary to keep the movement sharp.
For landscapes, start at ISO 100 and f/8–11, then choose the shutter speed that suits the available light. Keep the camera steady and check both the foreground and distance. Wind-blown trees and moving water may need a different shutter speed.
For macro photography, f/8–11 can help with the very shallow depth of field at close distances. Flash or another light source may help. If you use flash at 1/200 s, check your camera's flash-sync limit and adjust the shutter speed to stay within it.
For fireworks, use a tripod, manual focus and a remote release or timer. Start around ISO 100, f/8–11 and a two-to-six-second exposure. Shorten the exposure if several bursts overlap or bright areas lose detail.
Northern lights camera settings in Saskatchewan
For bright or fast-moving northern lights, try a wide-angle lens at f/1.8–2.8, a one-to-five-second exposure and ISO 1600–3200. Use the widest aperture your lens allows if it does not reach f/2.8, then adjust ISO or exposure time as needed. Dimmer or slower aurora may need a longer exposure; fast-moving curtains often keep more detail with a shorter one.
Place the camera on a solid tripod. Use magnified live view to manually focus on a bright star, take a test photograph and check sharpness. Use a remote release or a short timer to reduce camera shake. Review your histogram and highlights, because an image can look brighter on the camera screen in the dark.
A simple photography practice activity
Choose one subject near a window or outdoors in daylight. Take three photos while changing just one setting at a time. Try a wider aperture, a faster shutter or a different ISO, then compare the results. Notice what changed in the background, movement and brightness. This is a useful first exercise for beginners, families and youth photography groups.
Can I use this guide with a phone?
Some phones and camera apps offer manual controls, but many choose aperture automatically or use a fixed aperture. Use the controls your device provides. For northern lights, try night mode, support the phone on a tripod and check a test image. The numbers in the cheat sheet are intended mainly for cameras with adjustable exposure settings.
More free photography resources
Dre Erwin is a Saskatchewan photographer and founder of the Pinehouse Photography Club. My aim with this guide is simple: help more people pick up a camera, notice the light and enjoy making photographs.


Comments